

The Origin Story
Did you know that the chocolate chip cookie was actually a mistake? This iconic dessert is arguably the greatest ‘happy accident’ in baking history, tracing its roots back to 1939 and Ruth Wakefield’s kitchen at the Toll House restaurant in Whitman, Massachusetts. Attempting a new recipe, she tossed chopped Nestlé Semi-Sweet chocolate into her batter, assuming it would melt and spread throughout the dough. Instead, the chunks held their shape, creating creamy pockets of chocolate. This invention, originally dubbed the ‘Toll House Crunch Cookie’ in a Boston newspaper, quickly became the most popular cookie recipe of all time.
What actually makes a chocolate chip cookie soft and chewy? It is all about the science of moisture.
Bakers have been experimenting to perfect the texture. Unlike the crispy, shortening-based cookies of the past, the modern soft-baked cookie achieves its texture through a few key ingredient swaps. The secret lies in using a higher ratio of brown sugar (which contains molasses and adds moisture), slightly underbaking the dough, and chilling it to prevent spreading. This evolution took the humble homemade cookie from a crunchy snack to a decadent, gooey indulgence.
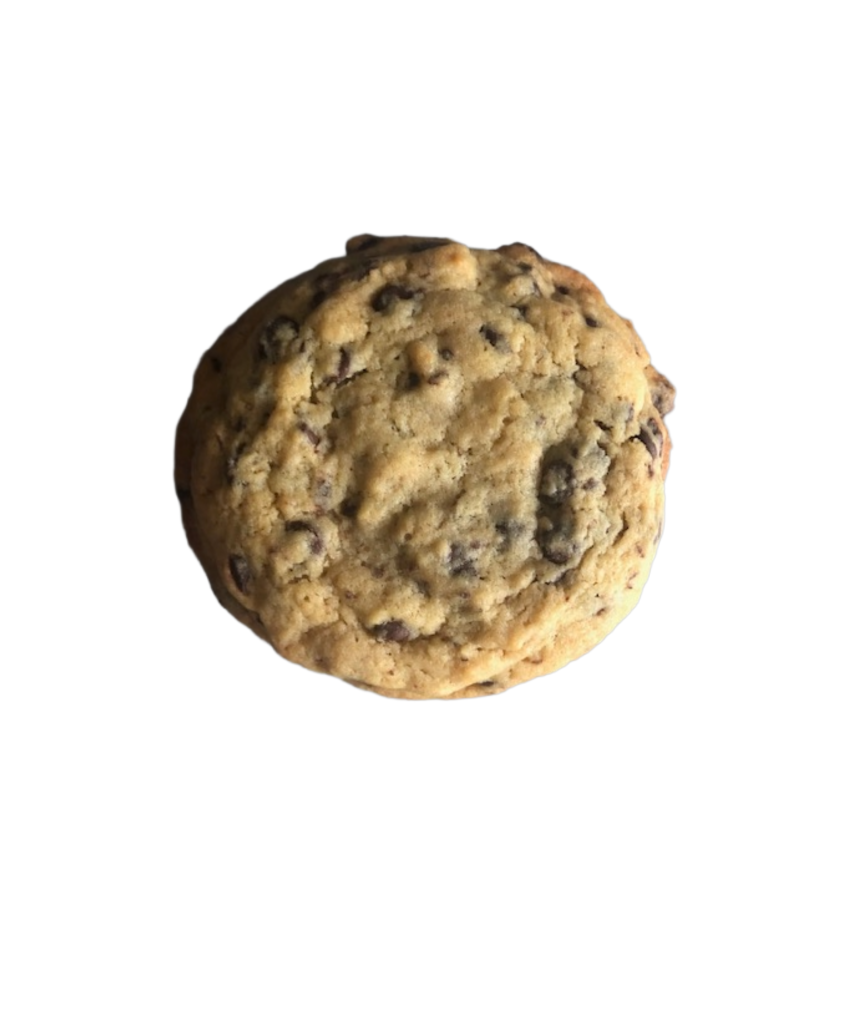
If you are looking for that perfect balance of a caramelized edge and a tender center, you have found the right recipe. These cookies are the definition of texture perfection, boasting crispy, golden edges that give way to a flawlessly soft, gooey center. Every bite is loaded with melted bittersweet chocolate chips and rich, buttery flavor notes. Whether you dunk them in milk or eat them warm straight from the baking sheet, this homemade chocolate chip cookie delivers that nostalgic, bakery-quality experience right in your own kitchen.
Best Soft & Chewy Chocolate Chip Cookies

Ingredients
Wet Ingredients
Dry Ingredients
Add-Ins
Always check the packaging of your ingredients, specifically chocolate chips and sprinkles. Many brands process these items in facilities that also handle peanuts and tree nuts. If baking for a severe allergy, look for brands certified as 'Nut-Free' or 'Made in a Nut-Free Facility. Walnuts are a completely optional addition to this recipe. For a nut-free version, simply omit them.
Directions
-
Dry Ingredients
In a medium bowl, combine flour, salt, and baking soda. Whisk together and set aside.
-
Creaming Method
In a large mixing bowl, using a hand mixer or a stand mixer fitted with a paddle attachment, cream the butter. Add both the granulated white sugar and the brown sugar gradually until the mixture is light in color. Add the eggs one at a time, then the vanilla extract until combined, creamy, and smooth. Scrape down the sides and bottom of the bowl.
-
Combine the dry and wet ingredients.
Gradually add the dry ingredients (flour mixture) to the wet ingredients. Beat on low speed until incorporated. Do not overbeat. Scrape down the sides and bottom of the bowl.
-
Mix the chips and optional walnuts.
Add and stir in the bittersweet chocolate chips and incorporate them into the dough. Add walnuts only if no one is allergic to nuts!!!
If the dough is sticky or too soft, chill for at least 1 hour to make scooping easier. For optimal texture, extend the chill time to overnight.
-
Scoop & Bake
Preheat oven to 350°F (180°C) and line baking sheets with parchment paper.
For large cookies, use an ice cream scoop to drop mounds of dough (about 2 tablespoons or 35g) onto the prepared baking sheets. Space the cookies about 3 inches (7.5 cm) apart to allow for spreading. Bake for 12 minutes until the edges are set and golden brown.Don't worry if the centers look soft—this ensures a chewy texture. Let cool completely on wire racks.
Note
Allergy Note:
While the walnuts in this recipe are optional and easy to skip, hidden allergens can lurk
in your mix-ins. Many brands of chocolate chips and sprinkles share manufacturing
lines with nuts. For a strictly nut-free batch, ensure you use ingredients that
are explicitly labeled as safe.
1. Ingredient Secrets for the Perfect Texture
Measure carefully: The most common culprit for dry cookies is excess flour. For
consistent results, it is best to weigh your ingredients with a scale. If you don't have
one, never scoop the cup directly into the flour bag; instead, spoon the flour in
and level it off to keep it light and fluffy.
Room Temperature Ingredients: Make sure your butter and eggs are at room
temperature. Room temperature eggs emulsify much better into the butter, creating
a creamy, uniform dough that rises properly. If your eggs are cold, place them in a
bowl of warm water for 5 minutes before using.
The Power of Brown Sugar: Don't swap the sugars! Brown sugar contains molasses,
which adds moisture and acidity. This is crucial for reacting with baking soda and
creating that dense, chewy texture. White sugar creates the crisp edges. You need
both!
2. The Method: How to Mix & Chill
The key to a tender cookie is handling the dough gently. When adding the dry
ingredients, mix only until the white flour streaks vanish, then stop immediately.
Continuing to mix activates the gluten in the flour, which results in a tough, hard
cookie instead of a soft one. For thicker cookies, chilling is key. Letting the dough
sit in the fridge for 1 to 24 hours solidifies the fat, which stops the cookies from
spreading too thin while baking.
3. Baking for "Gooey" Results
Remove the cookies from the oven when the edges are set and golden, even if
the centers still look soft and doughy. They will firm up on the hot baking sheet.
If the cookies look fully done while still in the oven, they are likely overbaked and
will become hard.
4. Storage: Keep Them Soft for Days
To keep your cookies soft for days, place a slice of fresh white bread inside your
airtight container. The sugar in the cookies will actually pull moisture from the
bread, ensuring they stay tender for 4–5 days. (You will notice the bread dries out
completely, but your cookies will remain perfect!)
5. How to Freeze Cookie Dough: The "Flash Freeze" Method
First, scoop your dough into balls and place them on a lined baking sheet to freeze
for 1–2 hours. This 'flash freeze' step prevents them from sticking together in a clump.
Once they are rock solid, transfer the balls to a freezer bag, remove the excess air to
prevent freezer burn, and label the bag with the baking time and temperature.
6. How to Bake Frozen Cookie Dough
You don't need to thaw the cookie dough! Simply preheat your oven to the standard
recipe temperature (350°F or 180°C) and place the frozen cookie dough balls directly
onto a lined sheet. Bake as usual, but add 1–2 minutes to the timer. Watch them
closely until the edges are set and golden brown.
7. Shelf Life: How Long Does it Last?
For the best quality, we recommend baking the frozen dough within 2 to 3 months.
Within this window, the cookies will taste exactly like a fresh batch. While the dough
remains safe to eat indefinitely as long as it stays frozen, the quality begins to
degrade after the 3-month mark. Over time, the dough may absorb unpleasant
'freezer flavors,' and the leavening agents can lose their potency, resulting in
flatter cookies.